Why Clipping In Changes Your Pedal Stroke More Than Your Power
Quick Answer: Clipping in does not add much raw power — the pulling-up phase contributes far less than most people believe. What it does is fix your foot in one optimal position, stop energy being lost through foot movement inside a cage, and let you apply force through more of the circle. The result is better efficiency, less foot pain, and a smoother stroke, not a big jump in wattage.
You were told the numbers would go up.
You bought the shoes, and they went up slightly, and it felt like a lot more than slightly.
Something did change. It was not mainly the power.

Does clipping in actually make you more powerful?
Marginally, and not through the mechanism people describe.
The pulling-up idea is largely a myth. Even trained cyclists produce very little useful force on the upstroke — what they mostly do is unweight the rising leg so it does not resist the leg pushing down. Actively pulling up is inefficient and fatiguing, and coaching people to do it usually makes them slower rather than faster.
What clipping in genuinely provides is a fixed, repeatable foot position. In a cage, your foot moves — a few millimetres each stroke, hundreds of times per class. That movement absorbs energy, changes your effective leg length stroke to stroke, and prevents your muscles from learning one consistent pattern.
It extends the arc where force can be applied. With a fixed foot you can push through the bottom of the stroke and across the top, rather than only pressing down through the middle. The total gain is real but modest — typically a small single-digit percentage in efficiency rather than a transformation.
The bigger change is in how it feels. Reduced foot movement means less wasted effort and less local fatigue, and that reads subjectively as a much larger improvement than the numbers show. You are not imagining it, and it is not primarily power.
What actually improves, then?
Four things, and they are the reasons people who switch rarely go back.
Foot pain largely disappears. The stiff sole of a cycling shoe spreads pedal pressure across the whole foot instead of concentrating it under the ball, which is the single most common complaint in indoor cycling and the one clip-ins solve most decisively. Hot spots and numb toes are usually a sole-stiffness problem, not a bike-fit problem.
Your knee tracking becomes consistent. Cleats fix the rotational angle of your foot, which fixes the path your knee travels. A foot that rotates freely in a cage lets the knee wander, and inconsistent knee tracking over thousands of revolutions is a genuine source of irritation.
Standing becomes stable. Out of the saddle is where cages fail most obviously — the foot lifts, the strap digs, and you end up gripping with your toes. Clipped in, standing work is secure and you can actually load the pedals.
Your stroke smooths out. The dead spots at the top and bottom become less pronounced, and the class feels less like a series of pushes and more like continuous motion. This is the change most people describe as feeling stronger.
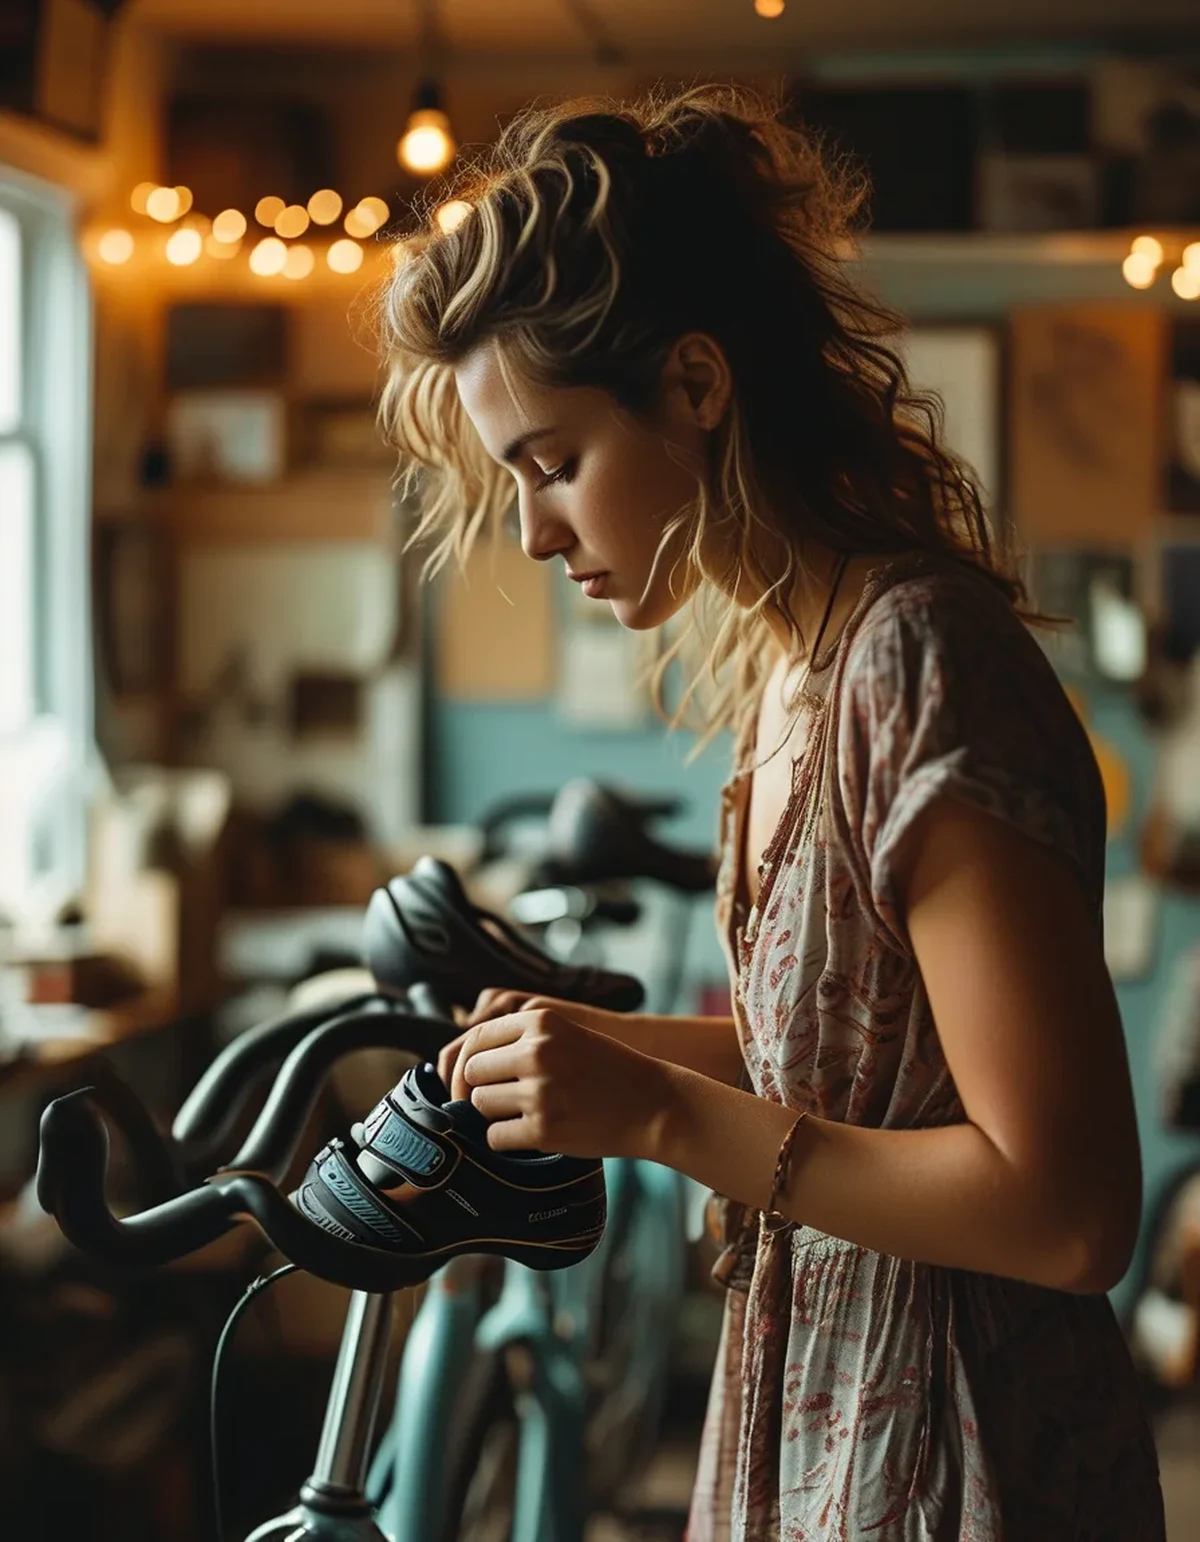
Myth vs Fact: Clip-In Shoes
Myth: you pull up on the upstroke. Fact: you unweight, you do not pull. Deliberately pulling up wastes energy and fatigues the hip flexors quickly. The correct cue is to let the rising leg get out of the way, not to drive it upward.
Myth: clip-ins are for advanced riders. Fact: beginners benefit more, not less, because they have the most to gain from a fixed position and the most foot pain from flexible shoes. The intimidating part is the clipping in, and that takes about two classes to learn.
Myth: you will fall over. Fact: on a stationary bike there is nowhere to fall. The failure mode is being stuck, not falling, and the fix is to twist your heel outward rather than pulling upward. Practise it three times before the class starts.
Myth: stiffer soles are always better. Fact: past a moderate stiffness, you are paying for weight savings and marginal gains that indoor cycling does not use. A mid-range shoe with a firm nylon sole captures nearly all the benefit — carbon soles are for road racing, not a 45-minute studio class.
Myth: the power numbers will jump noticeably. Fact: expect a small improvement and a large change in comfort. If your numbers jump a lot after switching, it is usually because you can now stand and push properly, not because the shoes generate power.
How do you set them up so they do not cause problems?
Cleat position is the whole game, and it is worth ten minutes once.
Position the cleat so the ball of your foot sits over or just behind the pedal axle. Too far forward loads the calf heavily and causes cramping; too far back reduces the power you can apply. Slightly behind centre is a safe default for most people.
Set rotation to match your natural stance. Stand normally and look at where your feet point — if your toes turn out slightly, the cleats should allow that. Forcing feet straight when they naturally splay is a reliable route to knee pain.
Use cleats with float if you have any choice. Float is the few degrees of rotation the cleat allows before releasing, and it lets your knee find its own path. Zero-float cleats are for people with a professional fit and a specific reason.
Expect an adjustment period and change one thing at a time. New knee, calf, or foot discomfort in the first few rides usually means cleat position, not the shoes — move the cleat in small increments and give each change a couple of rides.
Check the bolts every few weeks. Cleat bolts loosen, and a cleat that has rotated slightly is a common cause of a mysterious new ache. If discomfort persists after adjustment, a proper bike fit or a physiotherapist is the right next step — this is general information rather than medical advice.
A seasonal note: as classes move indoors and studio attendance rises through autumn, most people’s weekly volume goes up without them noticing. A cleat position that was tolerable at two classes a week can become a problem at four, which is why niggles often appear in October rather than in July.
FAQ: Clip-In Questions, Answered
Is it worth it if I only go once a week?
Probably, if you get foot pain — that is the benefit that shows up immediately regardless of frequency. For comfort alone the shoes pay off at any volume, and studio rental shoes are a reasonable way to test before buying.
Which cleat system should I buy?
Whatever your studio’s bikes take, which is usually SPD, sometimes Delta. Check before you buy — this is the most common expensive mistake in the category, and many bikes are dual-sided so you may have a choice.
Can I use my outdoor road shoes?
If the cleat matches the pedal, yes. Road cleats are awkward to walk in and the studio floor is unforgiving, so many people prefer two-bolt SPD shoes for indoor use even if they ride road outside.
Why do my feet go numb even in clip-in shoes?
Usually the shoe is too tight or the cleat is too far forward. Feet swell during exercise, so a shoe that fits perfectly at rest can compress nerves twenty minutes in. Loosen the straps at the start of class and check cleat position.
How long does it take to get comfortable clipping in?
Two or three classes. Practise clipping out on both sides before class starts, three times each, and the anxiety resolves faster than the skill does. Heel out, not up.
TL;DR:
- Clipping in adds little raw power — the upstroke contributes far less than people believe.
- What it fixes is foot position, energy lost to foot movement, and force applied through more of the circle.
- The stiff sole is why foot pain and numbness disappear, and that is the change most people feel.
- Standing work is where cages fail most and clip-ins help most.
- Cleat position matters more than shoe price: ball of foot over or just behind the axle, with float.
- New aches after switching are almost always cleat position, not the shoes.
The shoes did not make you stronger — they stopped you leaking effort into a moving foot.
Keep Reading
This article is for general informational and styling purposes only. Fit, sizing, and product availability may vary.