Clipping In: The Spin Shoe Decision and the First Clip-In Class
There are two kinds of people in every spin studio: the ones in sneakers jammed into the pedal cages, and the ones who walk in clacking across the floor in shoes they can barely stand up in.
The clacking crowd looks slightly ridiculous. They also have a meaningfully better workout. Here’s the whole decision, unclipped.
Quick Answer: Clipping in lets you pull on the upstroke as well as push, so your hamstrings join the workout and your feet stop slipping at high cadence. Rent studio shoes for your first few classes, then buy an indoor-cycling or mountain-bike shoe with SPD cleats for roughly $80–120 all-in. Before your first clipped-in class, arrive 10 minutes early and practice the heel-twist release five times. Everyone panics once about a stuck foot; the heel twist is the answer.
Do You Actually Need Spin Shoes?
For your first few classes, no. After that, they change the workout enough that a lot of riders date their spin life as before-and-after.
Three things happen when you clip in:
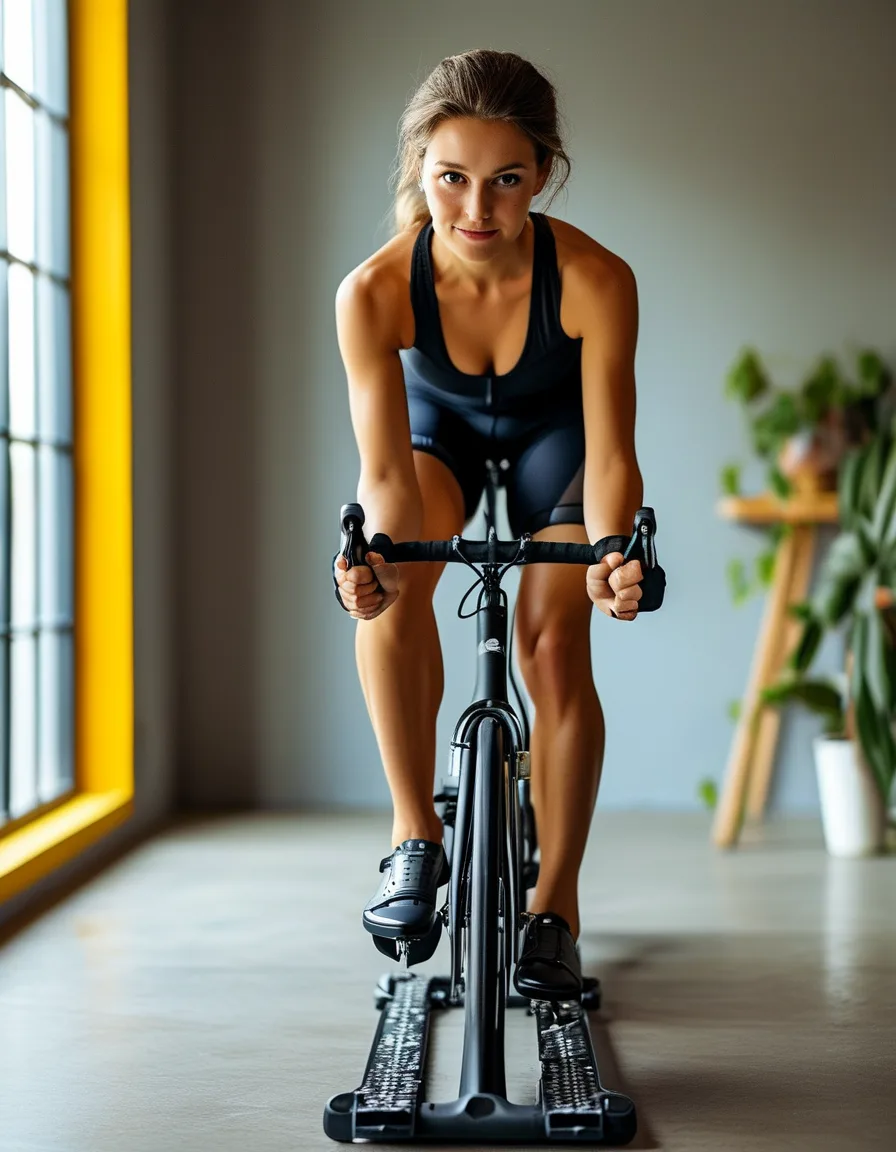
You get the whole pedal circle. In sneakers, you can only push down. Clipped in, you can also pull up through the back half of the stroke, which recruits your hamstrings and hip flexors instead of leaving the work entirely to your quads and glutes. Same 45 minutes, more muscle involved.
Your feet stop moving. The sneaker-slipping-forward-at-sprint problem simply ends. If you’ve ever spent an out-of-the-saddle sprint half-focused on whether your foot is about to pop out of the cage, you know how much attention that eats.
The stiff sole stops stealing your power. This is the part people underestimate. A running sneaker is built to flex and cushion, which is exactly wrong on a pedal — every bit of that flex is force that went into bending your shoe instead of turning the flywheel. A cycling shoe has a rigid sole that transfers essentially all of it. The stiff sole is the product.
The honest counterpoint: if you go to spin twice a month, rentals are fine and you’ll never miss the difference. The break-even is somewhere around once a week.
What Kind of Spin Shoes Should You Buy?
Almost every studio bike uses SPD — the two-bolt system that came from mountain biking. A minority use Delta (three-bolt, larger cleat, common on Peloton bikes). Ask your studio before you buy anything; it’s a ten-second question at the front desk and it’s the only spec that actually matters.
For a first pair, get an indoor-cycling or MTB-style shoe with SPD cleats. Budget roughly $80–120 for shoes and cleats together. Two reasons to prefer the MTB-style shoe over a road-cycling shoe:
- The cleat is recessed into the tread, so you can actually walk in them without the full penguin waddle.
- They’re generally easier to clip in and out of, which matters a lot in your first month.
Fit notes. Cycling shoes should be snugger than sneakers — your foot shouldn’t shift inside the shoe when you pull up — but not tight enough to squeeze your toes. Try them with the thin socks you’d actually ride in, not the thick ones. And be aware that cycling shoe sizing runs its own way; check each brand’s chart rather than assuming your sneaker size.
Rent first. Genuinely. Two or three rented classes tells you whether you like clipping in, and it tells you what your studio’s system is, before you spend anything.
How Do You Clip In and Out Without Panicking?
The mechanics are simple and the panic is universal, so let’s handle both.
To clip in: Point your toe down slightly, place the front of the cleat into the pedal, and press your heel down. You’ll feel and hear a distinct click. That’s it.
To clip out: Twist your heel outward, away from the bike. Not up, not back — out. The cleat releases and your foot lifts free.
The 10-minute protocol for your first clipped-in class:
- Arrive 10 minutes early and ask a staff member for the clip-in demo. They do this multiple times a day; it is not an imposition.
- Get set up on the bike.
- Practice clipping in and out five times per foot before class starts. This is the entire trick. You’re not learning the motion — you’re building the reflex, so that when your brain is busy at minute 38, your ankle already knows what to do.
Somewhere in your first two classes, usually during the cooldown, you will have a brief “my foot is stuck” moment. Everyone does. Your instinct will be to pull straight up, which is the one direction that definitely won’t work. Twist the heel out. It’ll take you about two seconds once you remember, and the rehearsal you did before class is what makes you remember.
If a pedal feels genuinely too hard to release, ask the instructor — tension on most pedals is adjustable, and studios can loosen it for newer riders.
What Nobody Tells You About Your First Weeks Clipped In
“Float” is not looseness. Most SPD cleats have a few degrees of built-in rotational wiggle, so your foot can pivot slightly without unclipping. First-timers often think something’s wrong or that they didn’t clip in properly. It’s intentional, and it’s protecting your knees from being locked into one fixed angle.
Cleat position matters more than shoe brand. The standard starting point is the cleat under the ball of your foot, pointed straight. Most studios will help you set this at the desk. If you feel knee pain after a couple of rides, cleat position is the first thing to check — not your fitness.
Your hamstrings will file a complaint. The upstroke is a genuinely new movement pattern. Expect two classes’ worth of unfamiliar next-morning soreness in the back of your legs. It’s not an injury; it’s a muscle group that’s been sitting out your entire spin career finally getting called in.
Everyone waddles. Cleats click on studio floors and you’ll walk like a newborn deer from the locker room to the bike. This is the culture’s soundtrack. Nobody is looking.
Your leggings matter more than you’d think. Clipping in means you’re locked to the bike and doing more out-of-the-saddle work, so anything that slides down or bunches at the knee becomes a 45-minute distraction. High waist leggings that stay put through standing climbs are the quiet difference between a good ride and a fidgety one.
FAQ
Can I use my own cycling shoes at any spin studio?
Only if the cleat system matches. SPD is the most common in studios and Delta shows up on Peloton-style bikes, and the two aren’t interchangeable. Some pedals are dual-sided and take both — ask the front desk before your first class rather than discovering it at bike setup.
Are clip-in shoes worth it if I only go to spin once a week?
Roughly once a week is about the break-even point. At that frequency you’ll notice the difference in the pedal stroke and rental fees start adding up to real money. Below that, rentals are perfectly fine and you’re not missing much.
Is it safe to clip in as a beginner?
Yes, with one preparation step: practice the heel-twist release several times before class starts. On an indoor bike there’s no traffic and no need to stop suddenly, which makes it a far more forgiving place to learn than the road. If a pedal feels too stiff to release, ask an instructor to reduce the tension.
TL;DR:
- Clipping in adds the upstroke to your pedal circle, stabilizes your feet at speed, and stops your shoe’s flex from eating power.
- Rent for 2–3 classes first. Then buy an indoor-cycling or MTB-style shoe with SPD cleats, $80–120 all-in.
- Confirm your studio’s system (SPD vs Delta) before buying anything.
- Clip in: toe down, press, click. Clip out: twist your heel outward — not up.
- Arrive 10 minutes early to your first clipped-in class and rehearse the release five times per foot.
- “Float” wiggle is intentional and protects your knees. Cleat position starts under the ball of the foot.
- Expect surprise hamstring soreness for about two classes. That’s the upstroke saying hello.
Keep Reading
This article is for general informational and styling purposes only. Fit, sizing, and product availability may vary.