Spin Bike Setup: The 5-Minute Adjustment That Prevents Pain and Boosts Power
Quick Answer: Set up a spin bike in five steps: saddle height level with your hip bone (slight knee bend at the bottom of the stroke), saddle fore-aft so your forward knee sits over the pedal spindle, handlebars level with or above the saddle, a reach that keeps your back neutral, and feet clipped in or firmly caged. Write the numbers down — setup takes fifteen seconds after the first time.
The number-one reason spin class hurts your knees, back or nether regions isn’t the workout.
It’s a badly set-up bike. Five minutes of adjustment prevents nearly all of it — and lets you actually put out power instead of fighting the machine.
Why Does Bike Setup Matter This Much?
Because the pain isn’t the workout — it’s the fit. Knee pain, lower back ache and saddle discomfort are the three most common complaints in spin, and all three trace back to setup far more often than to intensity.
Because it’s five minutes, once. Note your numbers and every subsequent class costs you fifteen seconds.
Because power leaks from a bad position. A saddle set too low shortens your leg drive; a stretched-out reach rounds your back and takes your core out of the equation. You work just as hard for less output.
Because beginners get it wrong by default. Bikes usually come set at the lowest position, and low feels safe. It isn’t — it’s the leading cause of knee pain in the room.
How Do You Set Up a Spin Bike, Step by Step?
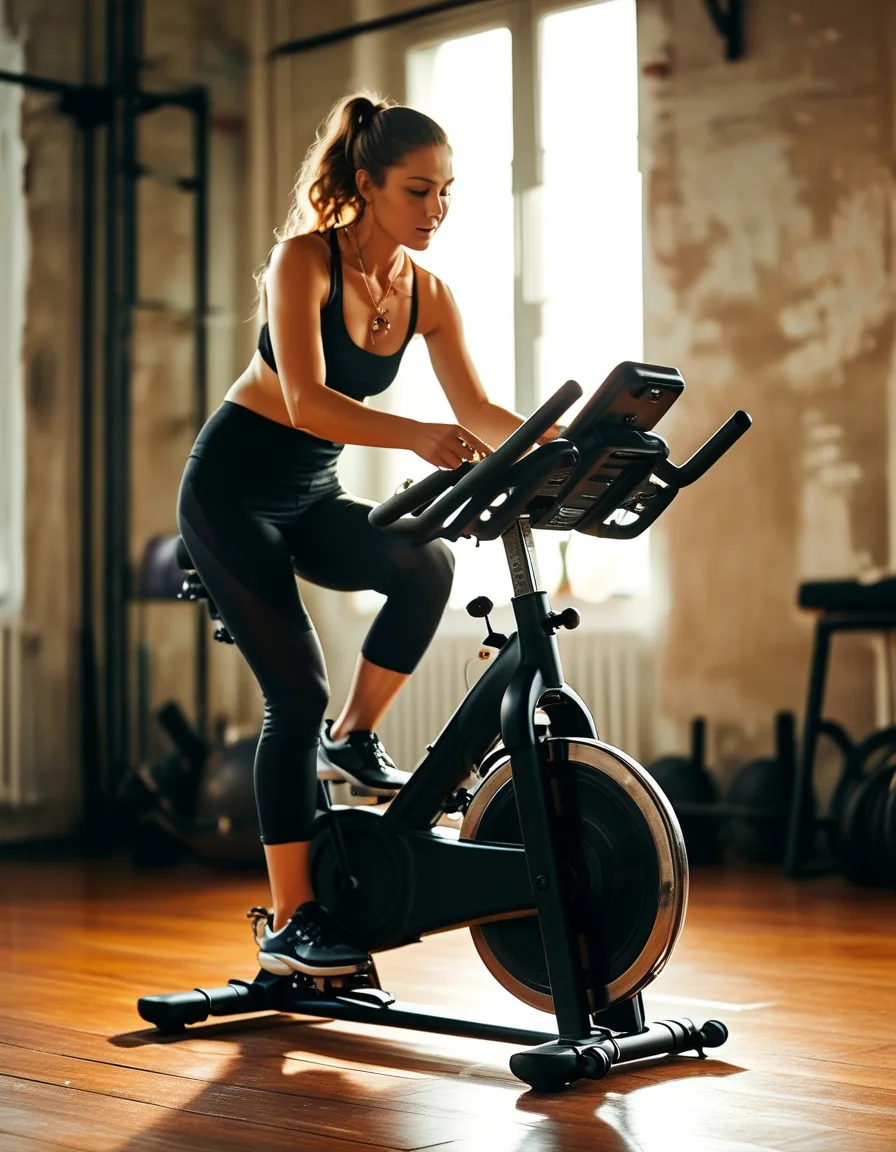
1. Saddle height. Stand beside the bike and set the saddle level with your hip bone. Then get on: at the bottom of the pedal stroke your knee should keep a slight bend, roughly 25–35 degrees. Not locked, not deeply bent. This is the adjustment that matters most.
2. Saddle fore-and-aft. Sit on the bike with the pedals level (3 and 9 o’clock). Your forward knee should sit directly over the pedal spindle. Slide the saddle forward or back until it does. Too far back overloads the knee; too far forward cramps the hip.
3. Handlebar height. Start level with or slightly above the saddle. Lower bars are more aggressive and more aerodynamic — a position to earn over months, not to start with. Anyone with back stiffness should go higher.
4. Handlebar reach. You want a slight elbow bend with relaxed shoulders. If you’re stretched out, you’ll round your spine to compensate and pay for it in the lower back by minute 40.
5. Secure everything. Tighten all four adjustment knobs firmly. A saddle that slips mid-climb is both alarming and dangerous.
6. Feet. Clip in if you have cycling shoes. If you’re using the cages, push your foot fully forward and pull the strap genuinely tight — loose feet lift out of the cage during high-cadence work.
7. Write it down. Photograph the saddle height, fore-aft and handlebar numbers. That’s your setup for every future class.
Ask an instructor to check it your first time. They do this all day, it takes them thirty seconds, and it’s what they’re there for.
5 Mistakes Everyone Makes
- Saddle too low. The default position on most bikes, and the leading cause of front-of-knee pain. Almost everyone should be higher than they think.
- Saddle too high. The overcorrection. Signs: hips rocking side to side, pain behind the knee, toes pointing down to reach.
- Handlebars too low. Looks serious, produces lower back pain within a few classes. Start high and lower gradually if you want to.
- Riding with no resistance. Spinning at 130 rpm against nothing bounces you in the saddle and trains very little. The third mistake causes the most complaints, but this one wastes the most classes.
- Never noting your settings. You’ll re-guess your saddle height every week and get it slightly wrong every time.
What About Comfort and Saddle Soreness?
Saddle soreness is normal for the first few rides and settles as your body adapts. It’s not a sign the bike is wrong unless it persists.
What actually helps:
- Padded cycling shorts. The single biggest comfort upgrade available — see what to wear to spin class. They matter far more than most beginners expect.
- Keeping your weight in your legs, not parked on the saddle. Some weight should be supported by the pedals and your core throughout.
- Standing briefly every ten minutes to relieve pressure.
- Correct saddle height. Too high means you’re rocking and grinding on the saddle every stroke.
Numbness is different from soreness. Any tingling or numbness means saddle position or angle needs adjusting — that one shouldn’t be pushed through.
How Do You Use Resistance and Cadence Properly?
Setup gets you comfortable; effort gets you fit.
There should always be resistance on the flywheel. Enough that you feel you’re pushing against something. A weighted flywheel spinning freely carries your legs around, which is neither training nor safe for your hips.
Cadence guidelines: roughly 80–100 rpm for flats, 60–75 rpm for climbs with heavier resistance. Above 110 rpm with light resistance is usually a sign to add tension instead of spinning faster.
Adjust if anything hurts. Discomfort in a new position for a ride or two is normal; sharp or persistent pain is a setup problem to solve, not to endure.
FAQ
How high should the saddle be on a spin bike?
Level with your hip bone when standing beside the bike, then fine-tuned so your knee keeps a slight 25–35 degree bend at the bottom of the pedal stroke.
Why do my knees hurt after spin class?
Most often a saddle that’s too low, which forces a deeply bent knee under load — that produces pain at the front of the knee. Pain behind the knee usually means the saddle is too high. Fore-aft position is the third suspect.
Should handlebars be higher or lower than the saddle?
For beginners and anyone with back issues, level with or above the saddle. Lower bars increase the load on your lower back and neck and should be adopted gradually, if at all.
How long does spin bike setup take?
About five minutes the first time. After you note your numbers, fifteen seconds — turn two knobs to your marks and get on.
TL;DR:
- Saddle height: level with your hip bone, 25–35 degree knee bend at the bottom.
- Saddle fore-aft: forward knee over the pedal spindle with cranks level.
- Handlebars: level with or above the saddle to start; reach that keeps your back neutral.
- Tighten every knob; clip in or strap the cages genuinely tight.
- Photograph your settings — setup drops to fifteen seconds forever after.
- Too low causes front-of-knee pain; too high causes hip rocking and pain behind the knee.
- Always ride against some resistance; 80–100 rpm flats, 60–75 rpm climbs. Padded shorts fix most saddle soreness.
Keep Reading
This article is for general informational and styling purposes only. Fit, sizing, and product availability may vary.